One Day Hat: How to
Hope this is somewhat coherent...here is my how-to on a "One day hat":
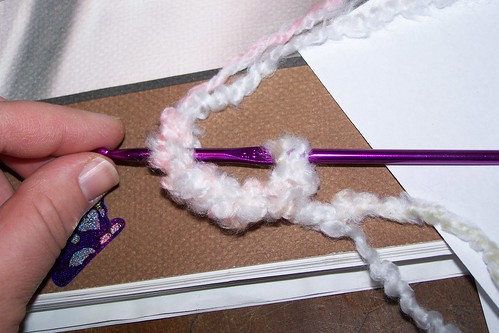
First, I used two yarns for color and bulk. Then, I did about 7 loops for a chain:

Next, I connected the ends to create a circle shape.
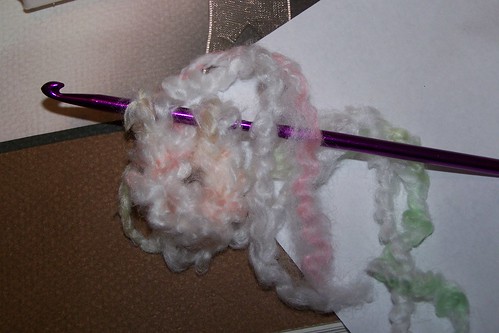
Then, I single crocheted around the circle:
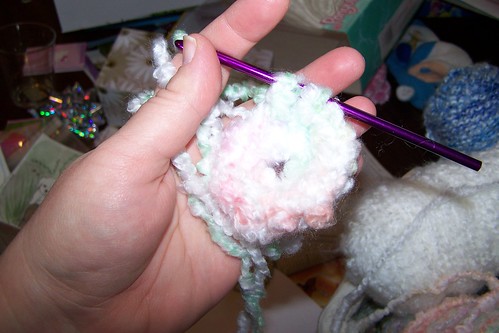
After this, I worked about two rows of single crochet. I then added an extra "stitch" or single crochet to make the rows longer. This makes the hat start to form and widen. Otherwise, you'd have a doily or pancake shape.
Keep adding a bit here and there in the rows. Once it is wide enough, I begin to reduce by removing or skipping a stitch and tightening it up with the next single crochet. This creates a smaller row. I did about two rows with reduction.
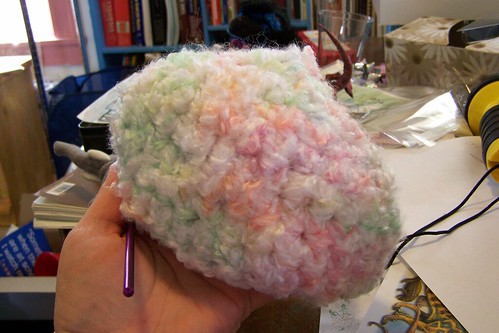
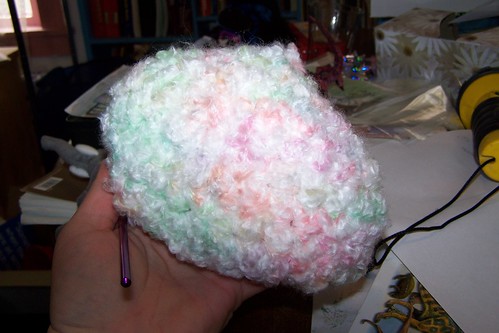
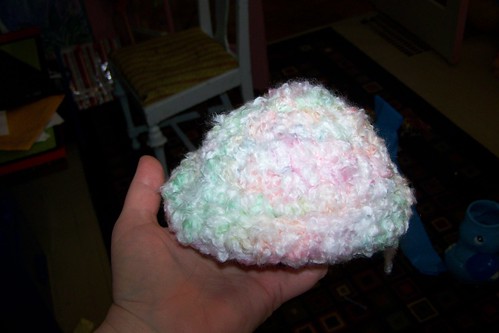
There we go! All done. My main purpose of this is to make a warm cute hat, hopefully covering the ears.
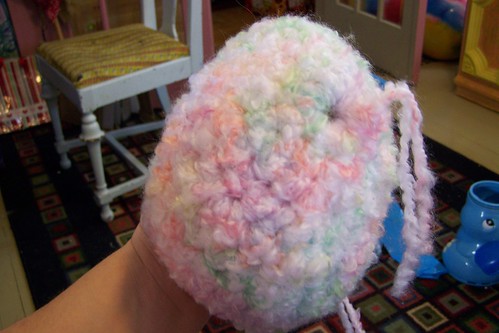
Once the hat is done, you can flip it inside out and give it a bit of a rim...looks sassy! :)
First, I used two yarns for color and bulk. Then, I did about 7 loops for a chain:
Next, I connected the ends to create a circle shape.
Then, I single crocheted around the circle:
After this, I worked about two rows of single crochet. I then added an extra "stitch" or single crochet to make the rows longer. This makes the hat start to form and widen. Otherwise, you'd have a doily or pancake shape.
Keep adding a bit here and there in the rows. Once it is wide enough, I begin to reduce by removing or skipping a stitch and tightening it up with the next single crochet. This creates a smaller row. I did about two rows with reduction.
There we go! All done. My main purpose of this is to make a warm cute hat, hopefully covering the ears.
Once the hat is done, you can flip it inside out and give it a bit of a rim...looks sassy! :)

Comments